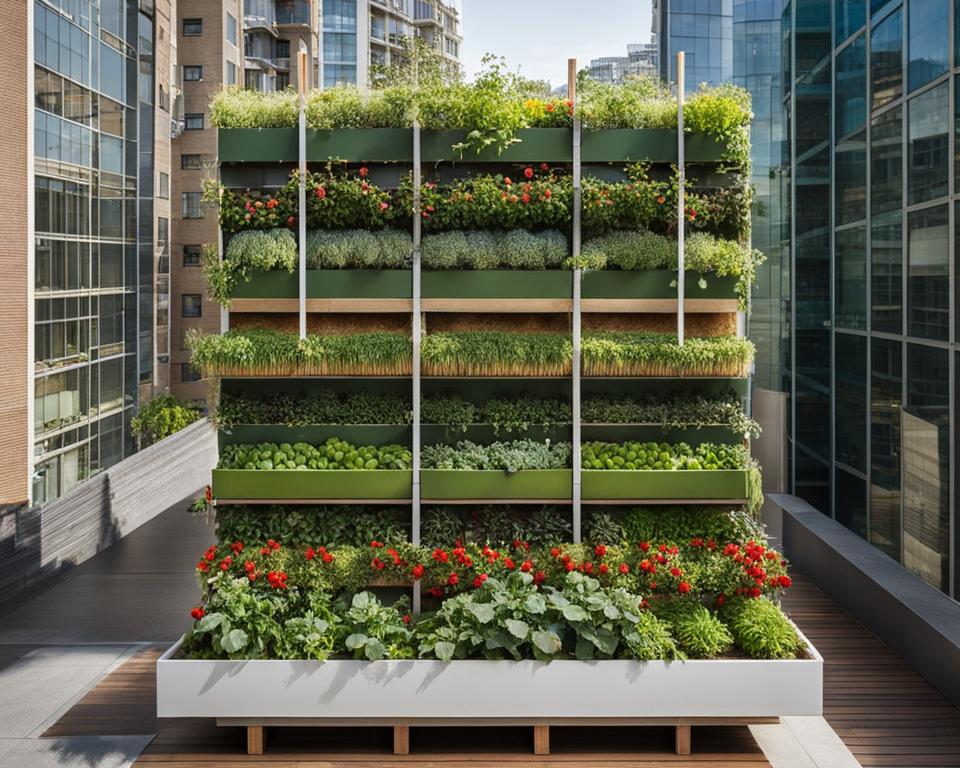
Imagine transforming your urban backyard or balcony into a lush, productive oasis. Vertical straw bale gardening is the secret to maximizing your harvest in the tiniest of spaces, making it perfect for urban gardens and small-scale growers. This innovative technique lets you reap the benefits of garden transformation without requiring the expanse of traditional soil beds. Whether you’re a seasoned green thumb or a budding garden enthusiast, vertical straw bale gardening opens up a world of possibilities for cultivating a verdant haven in your own home.
With vertical straw bale gardening, you’re not just creating a garden; you’re crafting a living sculpture of greenery that both feeds and inspires. Get ready to elevate your gardening game and make the most out of every inch of sunshine!
Key Takeaways
- Vertical straw bale gardening is a space-efficient gardening method ideal for urban dwellers.
- Maximize your growing area and yield by building upwards, not outwards.
- Transform small spaces into productive green zones with minimal land use.
- Learn organic techniques to condition straw bales, creating a nutrient-rich base for your plants.
- Adopt a sustainable gardening practice that minimizes maintenance while promoting eco-friendly growth.
- Embrace the versatility of straw bale gardens to grow an array of vegetables and flowers.
- Achieve garden transformation with this innovative approach suitable for balconies, patios, and small backyards.
The Basics of Vertical Straw Bale Gardening
Embarking on the journey of vertical straw bale gardening opens up a world of possibilities for both novice and experienced gardeners alike. It’s an innovative approach that maximizes your garden’s yield while utilizing minimal ground space. Ideal for those interested in DIY gardening or who prefer organic gardening methods, this technique can transform any small corner of your world into a lush and productive area.
What is Vertical Straw Bale Gardening?
Imagine your garden thriving vertically, with plants reaching upwards towards the sun, creating a living green wall. Vertical straw bale gardening is exactly that — a method where plants are grown in straw bales arranged to stand upright. This not only provides a unique aesthetic to your garden but also significantly improves space efficiency and accessibility. Perfect for urban gardeners or those with restricted space, this approach is a form of vertical gardening that redefines what it means to grow your own food at home.
Why Choose Straw Bales for Vertical Gardening?
Straw bales are an economical and readily available resource that can be utilized to create thriving gardens in places where traditional soil-based gardening may not be possible. Unlike hay, straw is a sterile byproduct of grain production, meaning it’s free from seeds that could sprout unwanted plants. Here’s a breakdown of why straw bales make excellent growing mediums:
- **Natural Insulation**: Straw provides excellent insulation for plant roots, protecting them from extreme temperatures.
- **Moisture Retention**: The bales retain water efficiently, keeping your plants hydrated.
- **Improved Aeration**: The structure of straw bales allows air to circulate through the roots, reducing the chance of root rot.
- **Ease of Access**: Due to their height, bending over to tend plants is minimized, which is a blessing for gardeners who have back problems.
Essentially, choosing straw bales for your vertical garden supports an organic gardening ethos, while providing a unique, eco-friendly solution to growing your own crops. So, get ready to roll up your sleeves, because with straw bale gardening, the sky’s the limit – quite literally!
Benefits of Gardening with Straw Bales
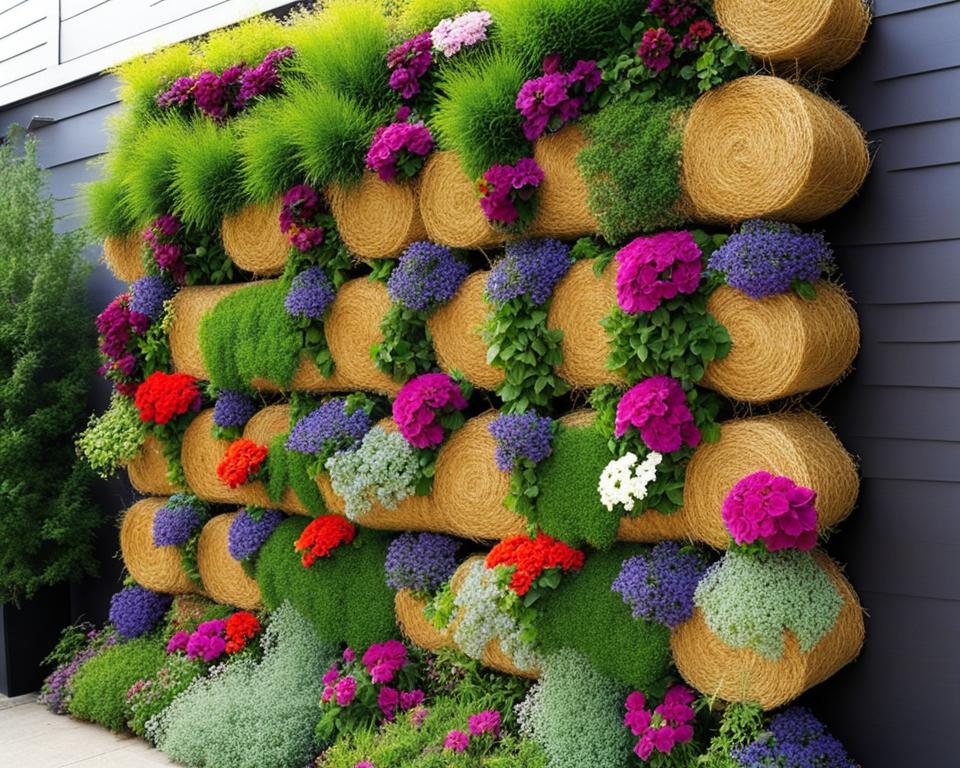
Delving into the realm of straw bale gardening invites a foray into a world where sustainable gardening meets practicality. It’s a symphony of ease and nature, where your gardening journey aligns with the rhythms of the organic world. Let’s explore how this method simplifies your green pursuits and nurtures the environment.
Low Maintenance Requirements
Imagine a gardening system that asks less of you, yet gives more. Straw bale gardening is akin to hiring a personal garden caretaker. Minimal weeding, reduced water waste, and a lower demand for your daily attention make it the epitome of low maintenance gardening. Once your straw bale is conditioned, caring for it demands as much effort as sipping a leisurely morning coffee.
Organic and Sustainable Practices
Forging a sustainable path in your garden doesn’t have to be complex. With straw bale gardening, you embrace organic gardening tips that protect the Earth. It’s a technique that utilizes biodegradable materials and forgoes chemical aids, ensuring your gardening practices leave a gentle footprint on our planet. The straw bale itself is a testament to this commitment, serving as both a vessel and a nutrient-rich compost for your plants.
- No synthetic fertilizers needed, the straw breaks down naturally into a rich soil
- Weed suppression inherent to the straw’s density
- Improved water retention, reducing frequency of watering
| Aspect of Gardening | Traditional Soil Gardening | Straw Bale Gardening |
|---|---|---|
| Weeding | Frequent | Minimal |
| Water Use | Higher due to evaporation | Optimized through retention in straw |
| Pest Management | Requires vigilance | Less prone due to elevation |
| Fertilization | Dependent on soil quality | Slow release of nutrients from straw |
| Environmental Impact | Varies | More eco-friendly with natural breakdown |
By adopting straw bale gardening, you not only ease the workload on yourself but also labor in tandem with nature. This is gardening that respects the balance of life, offering you a sanctuary of growth that is both fruitful and responsible.
Getting Started with Your Straw Bale Garden
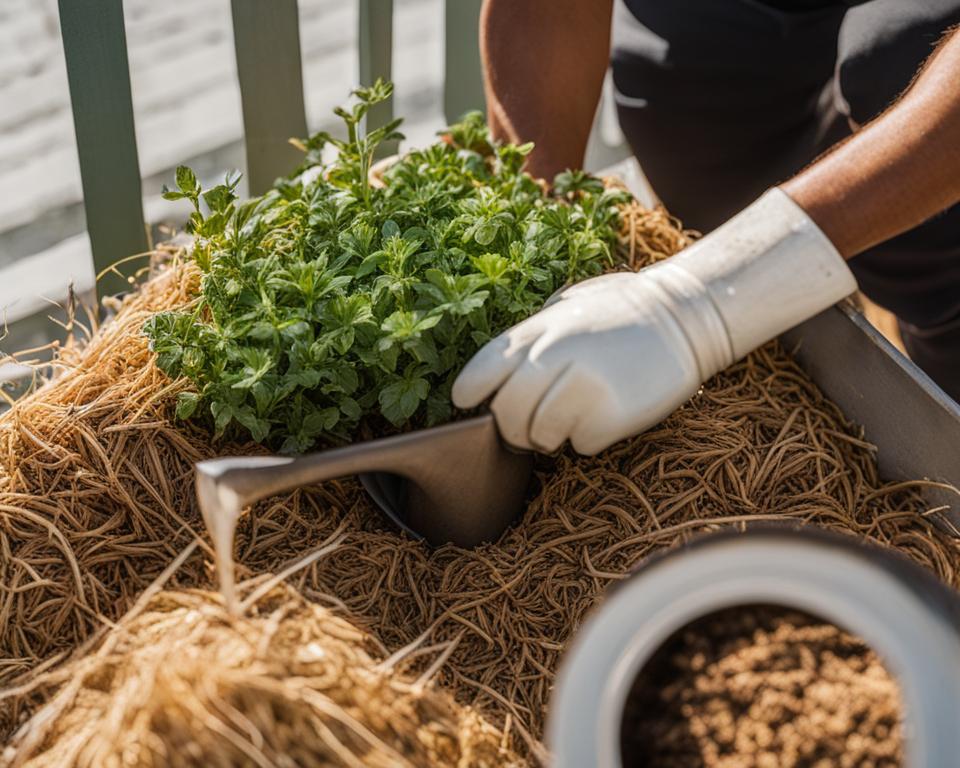
Embarking on the path of urban gardening can be truly exciting, especially when you opt for sustainable methods like straw bale gardens. These eco-friendly alternatives are perfect for DIY enthusiasts and those looking to maximize their small space gardening ventures. To pave the way for a successful harvest, your journey begins with a few critical steps.
Choosing the Right Location
Finding an ideal spot for your garden that both invites ample sunlight and provides convenience for routine care will lay a strong foundation for your green venture. Aim for a place where your plants can bask in plenty of direct sunlight—a crucial contributor to plant health and yield.
Selecting High-Quality Straw Bales
Quality is non-negotiable when it comes to choosing your straw bales. Seek out sources that offer high-grade bales, free from harmful chemicals that could compromise your garden’s vitality. It’s an essential step in ensuring your effort in sustainable gardening pays off.
| Criteria | Why It Matters | Tip for Success |
|---|---|---|
| Sunlight Exposure | Plants need 6-8 hours of direct sunlight for optimal growth. | Monitor the sunlight patterns in your chosen location before setting up. |
| Accessibility | Ease of access for watering and maintenance is crucial. | Ensure there is a clear path to reach your straw bale setup. |
| Bale Orientation | Straws running horizontally can retain more moisture. | Place bales on their side for better water retention and stability. |
| Bale Conditioning | Properly conditioned bales lead to a more fruitful gardening experience. | Condition bales over a course of a few weeks prior to planting. |
| Chemical-Free | Herbicide residue can inhibit plant growth or kill beneficial microorganisms. | Inquire about the previous use of bales and opt for organic sources when possible. |
With these first steps, you’re well on your way to crafting a thriving DIY gardening project right in the heart of the city. Remember, patience and attention to detail early on can lead to a luscious and productive straw bale garden you’ll be proud of.
Understanding and Conditioning Your Straw Bales
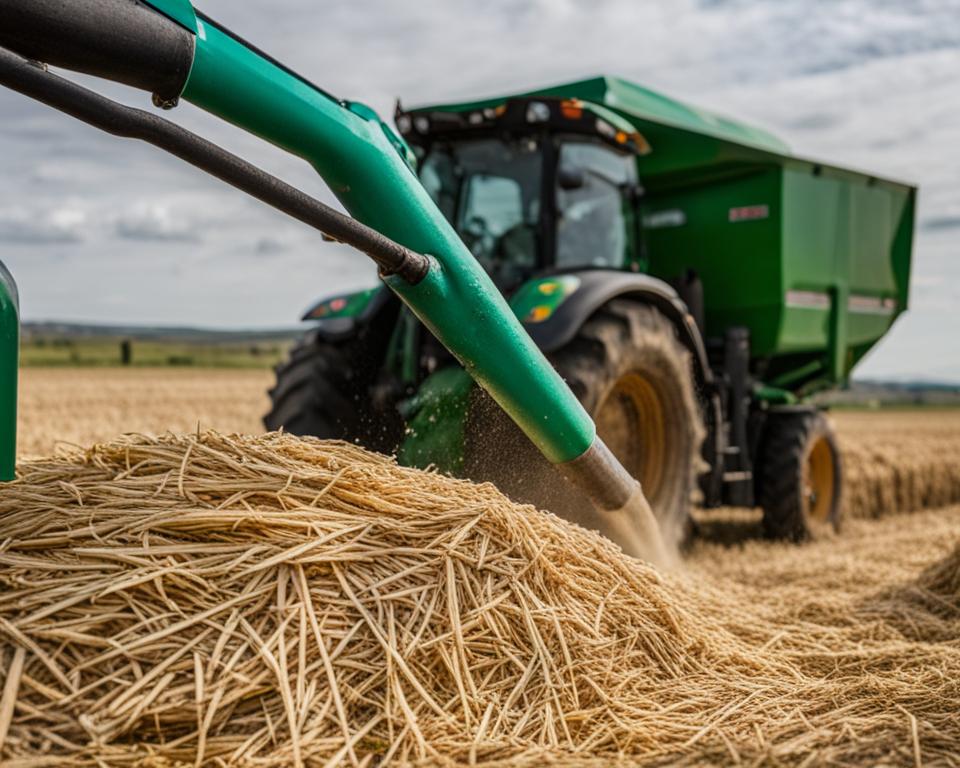
When you first embark on straw bale gardening, the conditioning process is a critical step that must not be skipped. During this phase, you’ll convert a common straw bale into a rich, plant-nourishing habitat. This is where your journey into organic gardening practices really begins, laying the groundwork for sustainable gardening methods that will enrich your garden for the seasons to come. Let’s explore how to best prepare your straw bales for a bountiful harvest.
The Importance of Conditioning
Conditioning is like priming a canvas before painting—it prepares your straw bales for their ultimate role. In the absence of proper conditioning, your bales may not decompose correctly, leading to an environment that’s less hospitable for your plants. The goal is to kickstart the internal composting process, which not only heat-sterilizes the straw but also generates a rich, organic substrate that will support plant life.
Organic Methods for Conditioning Straw Bales
To align with organic gardening practices, selecting an organic nitrogen source is essential. Materials such as blood meal or well-composted chicken manure are commonly used to introduce the necessary nitrogen. Here, the organic approach not only fosters sustainable gardening methods, but also nurtures the essential microbial life that underpins a thriving garden ecosystem.
To ensure success, follow this simple conditioning schedule:
- Apply the organic nitrogen to your bales every other day over a period of six days—a total of three applications.
- Water your bales thoroughly every day, allowing the nitrogen to penetrate deeply and initiate the composting reaction.
- After the initial six-day period, sprinkle an all-purpose organic fertilizer over your bales to provide a broader spectrum of nutrients.
- Continue to keep the bales moist and let the composting process work its magic for a few more days.
By the end of this period, your bales should be ready for planting, having transformed into a fertile, life-sustaining medium that accurately reflects the pinnacle of organic and sustainable gardening methods. Whether you’re a seasoned green thumb or a beginner, the rich tapestry of life within your conditioned straw bales is sure to provide a hospitable environment for your valuable plants to flourish.
Remember, following these straw bale gardening tips not only promotes plant health, but also ensures you’re part of a larger movement towards environmentally conscious cultivation. Happy gardening!
Designing Your Vertical Straw Bale Garden Layout
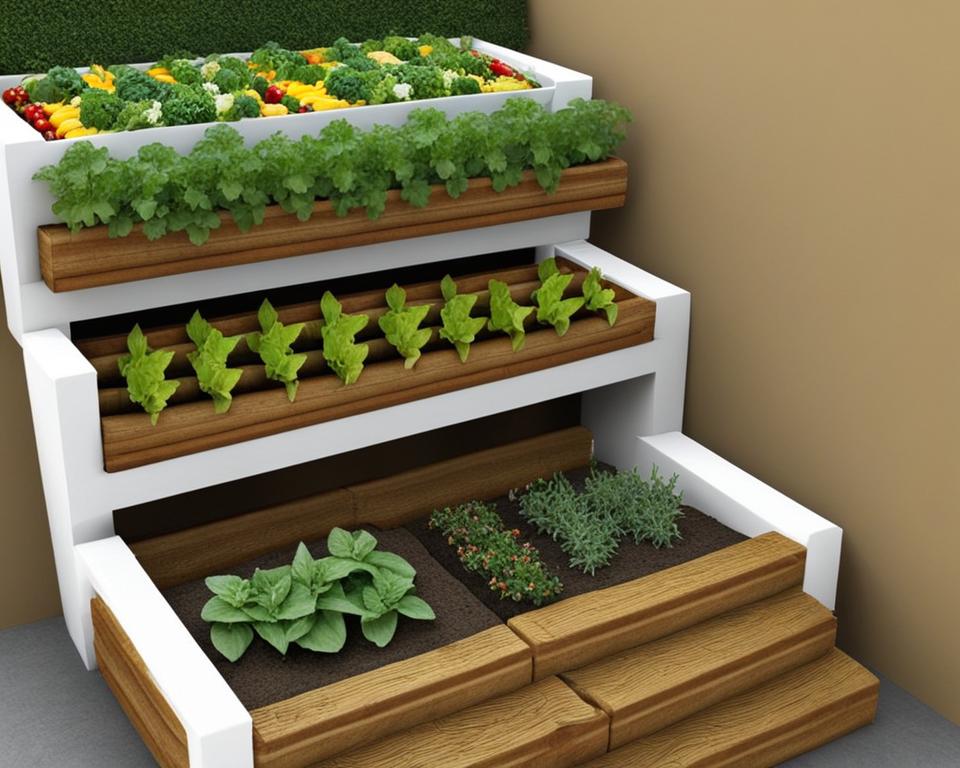
Gardening enthusiasts and urban growers, it’s time to elevate your green space with vertical straw bale gardening. Even when you’re limited by small space gardening constraints, a well-planned urban gardening layout can yield an abundance of fresh vegetables, herbs, and flowers.
Embracing a DIY gardening design approach not only adds charm to your space but also maximizes productivity. Let’s explore how you can optimize your garden layout with straw bales to transform any limited area into a lush and thriving oasis.
Maximizing Space with Proper Placement
Efficiency is key when addressing limited square footage. By orienting straw bales to capitalize on vertical space, you can grow more in less space. Consider placing your straw bales in north-to-south rows to ensure that each plant receives adequate sunlight throughout the day. Staggering the placement of bales can also assist in maximizing light exposure and can be an aesthetically pleasing pattern for your green space.
Tips for Arranging Plants
Thoughtful arrangement of your plants can significantly impact the success of your vertical straw bale garden. Here are some tips to get you started:
- Height Hierarchy: Plant your tallest crops at the rear of the garden and progress to the shorter ones towards the front to prevent shading.
- Support Systems: Use trellises, cages, and stakes to help your plants grow upward and to maintain an organized appearance.
- Accessibility: Position plants that require frequent harvesting, like herbs and lettuce, towards the edges of your garden for easy access.
Remember, a well-thought-out garden layout not only maximizes growing potential but can also become a focal point for your outdoor space.
| Plant Type | Placement Tips | Support Recommendations |
|---|---|---|
| Tomatoes | Back of the bale, spaced adequately apart | Cages or trellis for vine support |
| Peppers | Midsection, ensuring full sunlight exposure | Stakes for support during fruiting |
| Cucumbers | Front of the bale for easy harvest | Horizontal trellis for vine encouragement |
| Herbs | Edges of bales for easy clipping | Minimal support, unless for tall varieties |
By applying these design strategies to your DIY vertical straw bale garden, you’ll not only make the most of your space but also set the stage for a bountiful and beautiful gardening season.
Best Practices for Trellising in Vertical Straw Bale Gardening
As you delve into the world of vertical gardening, you’ll find that trellising is more than just a support structure; it is a key element that enables your climbing crops to thrive. Understanding the best practices for DIY trellising can significantly enhance your vertical gardening experience and yield. Whether you’re dealing with sweet peas or lush tomatoes, providing adequate vertical support is crucial for the health and productivity of your garden.
Before you start planting, inserting the trellis during the conditioning phase ensures that your garden is primed for success. Let’s explore the various types of trellises and how to effectively install them, following these gardening tips for resilient structures that stand the test of time and weather.
- Use cattle panels or large tomato cages for robust support that accommodates a variety of climbing crops.
- Anchoring is essential – T-posts need to be driven firmly into the ground behind your straw bales for stability.
- Secure your cattle panels with UV-resistant zip ties for a durable setup that resists wear from the elements.
- Consider using tomato cages or similar support structures which help plants in surrounding the cage, promoting natural upward growth.
Below is a table illustrating the comparison between several trellis types and their best applications.
| Trellis Type | Best for | Installation Tips | Durability |
|---|---|---|---|
| Cattle Panels | Heavy climbers like cucumbers and squash | Anchor with T-posts at least 12 inches in the ground | High |
| Tomato Cages | Tomatoes, peppers, and eggplants | Place cage over plants and push firmly into bale | Medium |
| String Trellis | Peas, beans, and vining flowers | Secure strings to a top frame and stake to the bale | Low-Medium |
| Wooden Obelisks | Ornamental vining plants | Insert legs directly into bales for stability | Medium-High |
Gardening tips like these for DIY trellising underscore the importance of tailoring your approach to the specific needs of your climbing crops’ vertical support. By investing the time in setting up the proper trellising system, you can look forward to a thriving, space-efficient, and picturesque vertical garden.
Selecting Crops for Vertical Growth in Straw Bales
As you venture into the world of gardening with straw bales, understanding which crops will thrive in a vertical setup is fundamental. By focusing on suitable varieties, you can maximize your garden’s productivity and embrace the sustainable vegetation movement popular in urban crop selection. Let’s explore the best types of vegetables for your straw bale garden and the necessary support they will need to prosper.
Choosing the Right Vegetables
When looking at vegetables for your straw bale setup, prioritize plants that naturally reach for the sky. Veggies such as indeterminate tomatoes, fragrant peas, crunchy cucumbers, sweet melons, and robust pole beans are not only perfect for your vertical garden but also contribute to a well-rounded approach to organic gardening. Their climbing habits are conducive to upward growth, making them ideal for your compact space. Plus, these plants can help create a lush green vertical oasis right in the comfort of your backyard or balcony.
Support Requirements for Vining Crops
No vertical garden is complete without proper support, particularly when it comes to vining crops. Tray-like structures such as tomato cages, or tall, sturdy trellises are essential when working with gardening with straw bales. Heavier fruit bearers, like melons, will need additional reinforcement. Clever solutions, such as repurposed pantyhose, work wonders to cradle growing fruits, preventing them from detaching under their own weight. The key is to ensure each plant is given the support it needs to grow upward effectively, paving the way for a bountiful and sustainable vegetation harvest.
Essential Tips for Planting and Transplanting
As an enthusiast of vertical gardening, you’re likely excited to transition from the conditioning phase to the actual planting in your straw bale garden. Whether it’s your first time or you’re refining your approach to organic gardening, there are several transplanting practices to ensure your garden thrives from the start.
Creating Planting Holes in Straw Bales
To commence planting, carefully slice into your straw bales to form planting holes that are just the right size—neither too large to prevent the substrate from supporting your plants, nor too small to restrict root growth. After carving the perfect niche, enrich the pocket with a handful of compost. This reinforces the space with essential nutrients, serving as an initial boost for your plants in their new organic medium.
Transplanting Seedlings
Gently welcome your seedlings into their new home, being extra cautious not to harm their roots during the process. Proper spacing is a crucial factor to encourage robust growth. Give your young green companions enough room to flourish, maintaining good airflow and ensuring they bask in generous sunlight. If the offspring of your garden are delicately small, consider providing them with temporary shelter to protect against wind or intense sun. Keep a diligent watch on the moisture within the bales and consider setting up a drip irrigation system for consistent and balanced watering.
| Plant Type | Spacing (inches) | Depth (inches) | Additional Support |
|---|---|---|---|
| Tomatoes | 18-24 | 6-8 | Cages or Trellises |
| Cucumbers | 12-16 | 6-8 | Vertical Netting |
| Peppers | 12-18 | 6-8 | Stakes or Tomato Cages |
| Leafy Greens | 6-8 | 3-4 | None Needed |
Remember, your straw bale garden is a living ecosystem. Tend to it with care, embrace these proven transplanting practices, and watch as your garden becomes a testament to the resilience and abundance that organic gardening offers.
Maintaining Your Vertical Straw Bale Garden
Mastery in sustaining a flourishing vertical straw bale garden demands careful attention to the nuances of care. As your verdant oasis ascends skyward, the realms of watering and fertilization become your pivotal tools in nurturing garden vitality. In urban landscapes, where space is at an enviable premium, the integration of both moisture and sustenance plays a crucial role in defining the success of your straw bale gardening efforts.
Watering Strategies
When the mercury soars, your straw bales become thirsty allies in the quest for sustainable gardening. To satiate their needs, consider the implementation of a drip irrigation system—an ally in the conservation of H2O and your time. Alternately, a soaker hose elegantly distributes hydration evenly, preventing any parched straw from diminishing your garden’s lushness. Diligent moisture monitoring helps you keep the intrinsic equilibrium intact, pivotal in the hot bursts of summer.
Managing Nutrients and Fertilization
Beyond water, your green charges hunger for nutrients. Unleash the potential of your garden through judicious use of organic fertilization methods—your assurance of a bountiful and environmentally harmonious yield. A balanced, monthly application of 10-10-10 or its organic counterparts replenishes the essence of vitality within your bales. With every nutrient addition, you assure an oasis of abundance in even the smallest of green spaces. Vigilance remains your watchword against pests and plant maladies, intercepting any interlopers that dare to encroach upon your vertical Eden.
FAQ
What is Vertical Straw Bale Gardening?
Vertical straw bale gardening is a technique that allows you to grow plants in straw bales positioned vertically, maximizing harvest in small spaces. This sustainable method is ideal for urban gardens and small-scale growers, transforming underutilized areas into productive garden spaces.
Why Choose Straw Bales for Vertical Gardening?
Straw bales are an excellent choice for vertical gardening because they are a sterile, inexpensive medium that provides good aeration, moisture retention, and slow nutrient release. Using straw bales allows you to engage in DIY gardening, enhance organic practices, and maintain a sustainable garden.
What Are the Low Maintenance Requirements of Straw Bale Gardening?
Straw bale gardening reduces the need for weeding and extensive soil preparation. Once the bales are conditioned and planted, they require only basic care, such as regular watering and occasional fertilization, making it a convenient option for those seeking to minimize gardening chores.
How Do Organic and Sustainable Practices Factor into Straw Bale Gardening?
Straw bale gardening supports organic and sustainable practices by using natural materials that eventually break down and enrich the soil. It also allows for the use of organic fertilizers and pest control methods, minimizing the environmental impact of gardening.
How Do You Choose the Right Location for Your Straw Bale Garden?
When selecting a location for your straw bale garden, look for a sunny spot with good airflow and easy access for maintenance. Ensure that the site receives several hours of direct sunlight daily, which is crucial for most plant species.
What Should You Consider When Selecting High-Quality Straw Bales?
It’s important to choose straw bales that are free from mold, pests, and residual herbicides. Source your straw bales from a trusted local farm or supply store. Quality bales will provide a healthy foundation for your plants.
Why is Conditioning Your Straw Bales Important?
Conditioning your straw bales is necessary to start the composting process, which turns the bale into a rich, nutritious growing medium. Conditioning involves adding nitrogen to the bales and keeping them moist to encourage microbial activity.
What are Organic Methods for Conditioning Straw Bales?
Organic methods for conditioning straw bales include using natural nitrogen sources like blood meal or chicken manure, as well as applying organic fertilizers. This approach supports an eco-friendly garden and avoids chemical runoff.
How Can You Maximize Space with Proper Placement of Straw Bales?
To maximize the growing space, place your straw bales with straws oriented horizontally to retain moisture longer and arrange them to allow for upward growth of crops. Ensure there’s adequate space between bales for plant expansion and maintenance access.
Can You Offer Tips for Arranging Plants in a Straw Bale Garden?
When arranging plants in a straw bale garden, consider the mature size of each plant, placing taller varieties towards the back and shorter ones in front. Support climbing plants with stakes or cages, and ensure good air circulation around all plants to prevent disease.
What Are Some Best Practices for Trellising in Vertical Straw Bale Gardening?
Install sturdy trellising supports, such as cattle panels or tomato cages, during the conditioning phase so they’re ready for planting. Ensure that the trellis system is anchored securely to support the weight of growing crops and to withstand weather conditions.
How Do You Choose the Right Vegetables for Vertical Growth in Straw Bales?
Select vegetables that are well-suited for vertical growth, such as indeterminate tomatoes, cucumbers, peas, and pole beans. Ensure their compatibility with your trellising method and provide ample support as plants grow.
What Support Requirements Do Vining Crops Have in Straw Bale Gardening?
Vining crops require sturdy trellises or cages for support as they climb. For heavier fruits like melons, consider additional structures, like slings made from pantyhose, to support the fruit’s weight and prevent it from pulling off the vines.
How Should You Create Planting Holes in Straw Bales?
Cut into the conditioned straw bales to create holes for planting. Add a layer of compost or potting mix into each hole to provide a nurturant start for your plants. Space the holes appropriately for the type of plants you are cultivating.
What’s Important to Know When Transplanting Seedlings?
When transplanting seedlings into straw bales, be careful not to damage the roots. Make sure the holes are large enough for the root ball, and consider providing shade or wind protection for young plants until they establish themselves.
Can You Provide Watering Strategies for Straw Bale Gardening?
Keep your straw bales consistently moist by using a soaker hose or drip irrigation system, which provides even and efficient water distribution. During hot or dry periods, additional watering may be necessary.
How Should You Manage Nutrients and Fertilization in a Straw Bale Garden?
Apply a balanced fertilizer or organic alternative as needed to replenish nutrients throughout the growing season. Monitor the health of your plants and adjust your fertilization practices accordingly to avoid over-fertilizing or nutrient deficiencies.

