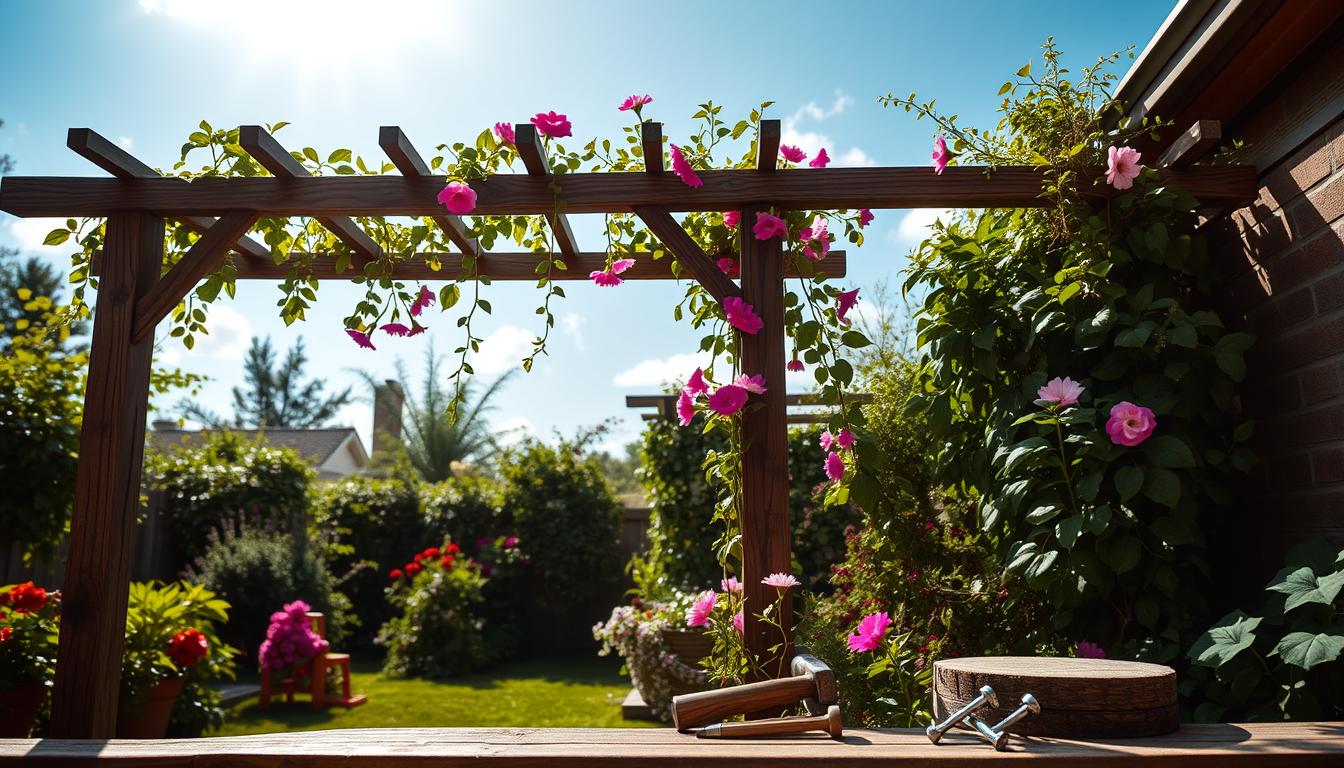
I’ve always loved the charm a well-built trellis adds to a garden. That’s why I’m excited to share my guide on how to build a trellis. As a gardener, I’ve found that creating a custom garden trellis is both fun and practical.
In this DIY guide, I’ll walk you through the steps to make your own trellis. We’ll cover everything from choosing materials to final assembly. Whether you want to support climbing plants or create a beautiful focal point, I’ve got you covered.
Building a trellis isn’t just about looks. It’s a great way to maximize space in small gardens and provide support for your favorite vines. By the end of this guide, you’ll have the know-how to build a trellis that fits your unique garden needs.
Introduction to Building a Trellis
I’m excited to share my passion for trellis construction with you! A trellis is a garden structure that transforms outdoor spaces and supports climbing plants. Let’s explore the world of trellises together.
What is a Trellis?
A trellis is a framework of vertical supports and crosspieces used for climbing plant support. It can be made from wood, metal, or plastic, and comes in various designs. I love how trellises add dimension to my garden while maximizing space.
Benefits of Using a Trellis
Trellises offer numerous advantages for gardeners:
- Vertical gardening saves space
- Improved air circulation for plants
- Creates privacy and defines garden areas
- Adds visual interest to bare walls
- Supports heavy fruit-bearing vines
Common Plants for Trellising
I’ve had great success growing these plants on my trellises:
| Flowering Vines | Fruit-Bearing Plants | Ornamental Climbers |
|---|---|---|
| Clematis | Grape Vines | Ivy |
| Morning Glories | Pole Beans | Jasmine |
| Climbing Roses | Cucumbers | Bougainvillea |
With the right trellis and plants, you can create a stunning vertical garden. In the next section, I’ll guide you through choosing the perfect materials for your trellis project.
Choosing the Right Materials for My Trellis
When I began planning my garden trellis, picking the right materials was key. I wanted a strong structure that would enhance my outdoor area and last long. Let’s look at the choices I made and the tools I needed for this project.
Wood vs. Metal: Pros and Cons
I compared wooden trellises to metal ones. Wood gives a natural feel and is easy to handle, but needs upkeep. Metal trellises are tough and easy to care for, but cost more. I chose wood to fit my garden’s style.
| Material | Pros | Cons |
|---|---|---|
| Wood | Natural look, affordable, customizable | Requires maintenance, may rot over time |
| Metal | Durable, low-maintenance, weather-resistant | Can be expensive, limited design options |
Recommended Sizes and Dimensions
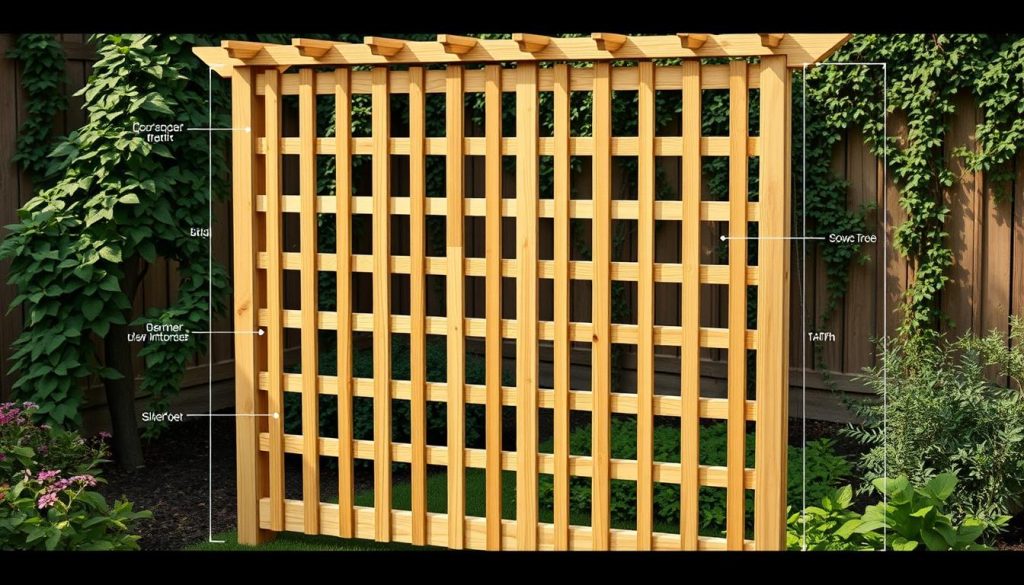
I picked a trellis that’s 6 feet tall and 4 feet wide for my garden. This size is perfect for climbing plants and fits well in my yard. Make sure to think about your plants’ full size when picking trellis dimensions.
Tools I Need for the Job
Getting the right gardening tools was crucial for my wooden trellis. Here’s what I used:
- Saw (hand or power)
- Drill with bits
- Measuring tape
- Level
- Hammer
- Screwdriver
- Safety glasses and gloves
With my materials and tools ready, I was set to start my trellis project. Next, I moved on to designing and making my trellis come to life.
Planning My Trellis Design
Now that I’ve got all my materials, it’s time to get creative. I’m excited to share some trellis plans I’ve tried. I want to help you find the perfect spot for your new garden feature.
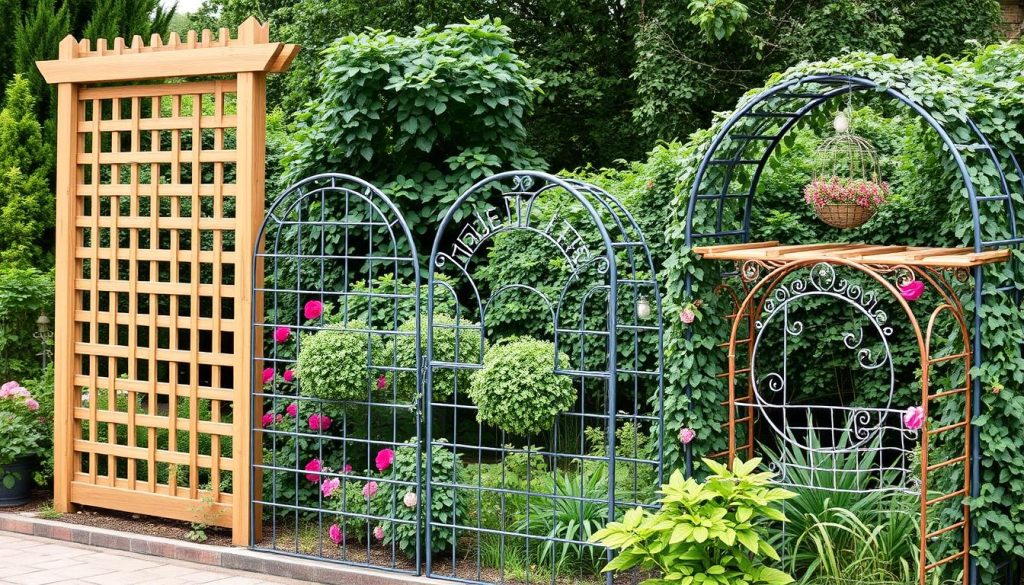
Types of Trellis Designs
I’ve tried out different trellis styles. Each one has its own benefits for different plants and garden looks.
- Fan-shaped: Great for vines and climbing roses
- Lattice: Versatile and classic look
- Obelisk: Perfect for compact spaces
- A-frame: Ideal for vegetable gardens
Choosing the Right Location
Choosing the perfect spot for my trellis is key. I think about a few things:
- Sunlight exposure for plant growth
- Soil quality and drainage
- Existing landscaping elements
- Visual appeal in the garden layout
Measuring and Marking the Area
To make sure my trellis fits well, I follow these steps:
- Measure the intended space
- Mark the corners with stakes
- Use string to outline the area
- Double-check measurements
| Trellis Type | Ideal Width (ft) | Recommended Height (ft) |
|---|---|---|
| Fan-shaped | 4-6 | 6-8 |
| Lattice | 3-5 | 5-7 |
| Obelisk | 2-3 | 6-8 |
| A-frame | 3-4 | 5-6 |
Step-by-Step Guide to Building My Trellis
Building a trellis DIY project is exciting and rewarding. I’ll guide you through the process. I’ll share tips from my experience to help you create a sturdy structure for your garden.
Cutting the Materials
I start by measuring and cutting my chosen materials. For a wooden trellis, I use a saw to cut boards to the right lengths. It’s crucial to measure twice and cut once to ensure accuracy.
I sand the edges to prevent splinters and create a polished look.
Assembling the Frame
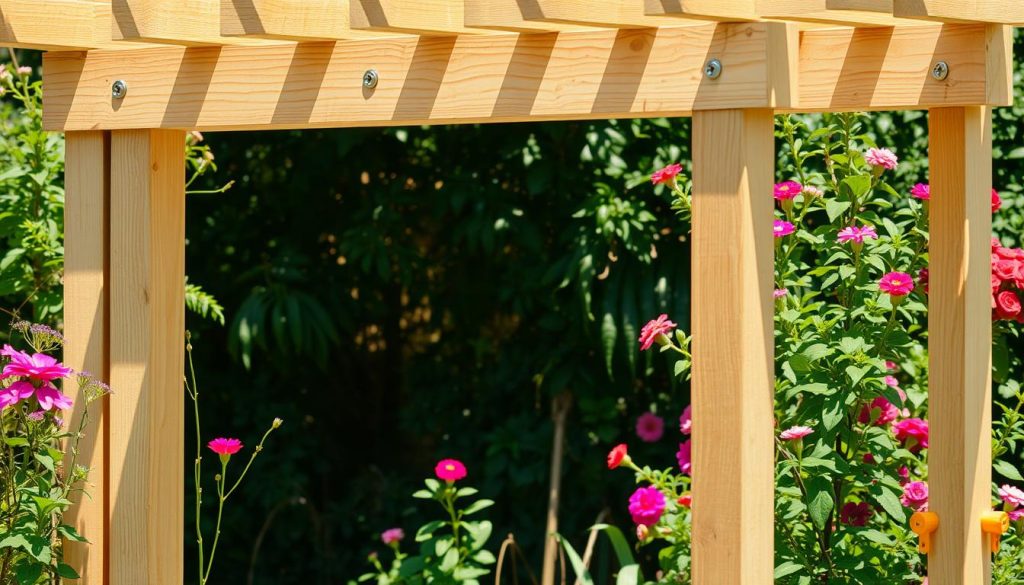
Next, I assemble the frame. I lay out the pieces on a flat surface and use wood glue and screws to join them. For added strength, I create lap joints at the corners.
This technique involves cutting notches in overlapping pieces so they fit snugly together.
Securing the Trellis in Place
To secure my trellis, I dig holes for the posts and fill them with concrete. Once set, I attach the frame to the posts using galvanized screws. For freestanding designs, I use anchors or stakes to provide stability against wind and weight from climbing plants.
| Step | Tools Needed | Time Required |
|---|---|---|
| Cutting Materials | Saw, Measuring Tape, Sandpaper | 1-2 hours |
| Assembling Frame | Drill, Screws, Wood Glue | 2-3 hours |
| Securing Trellis | Shovel, Level, Concrete Mix | 3-4 hours |
By following these steps, I’ve successfully built a sturdy trellis. It enhances my garden’s beauty and functionality. With proper care, this DIY trellis will support climbing plants for years to come.
Adding Decorative Elements to My Trellis
I love making my garden trellis stand out. It’s not just a vine support; it’s a centerpiece in my outdoor space. Let me share how I add flair to my trellis.
Painting and Staining Options
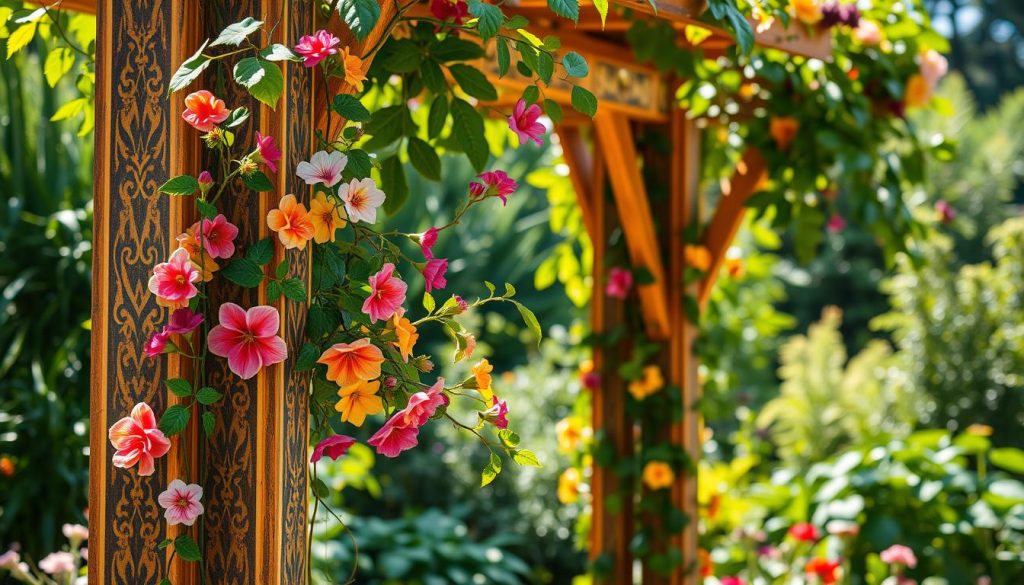
I start by protecting my garden trellis with paint or stain. For a natural look, I use a clear wood sealer. If I want color, I pick weather-resistant paint. Bold hues make my trellis pop against green foliage.
Incorporating Climbing Plants
Next, I choose climbing plants. Roses and clematis are my go-to picks. I plant them at the base of my trellis and gently guide them as they grow. Soon, my vine support transforms into a living wall of blooms.
Using Lighting for Ambiance
To create magic at night, I add lights. Solar-powered string lights work great. I weave them through the trellis, creating a soft glow. For special nights, I hang lanterns from the crossbeams. It turns my garden trellis into an enchanting evening retreat.
With these touches, my trellis becomes more than just a plant support. It’s a beautiful focal point that brings joy day and night.
Maintaining My Trellis
Keeping my trellis in top shape is crucial for a thriving garden. Regular maintenance ensures my climbing plant support stays strong and beautiful year-round. Let’s dive into some key aspects of trellis upkeep.
Inspecting for Damage
I check my trellis for signs of wear every few months. I look for loose joints, rust spots on metal parts, or wood rot. Catching these issues early helps me avoid costly repairs down the line. I keep my gardening supplies handy for quick fixes when needed.
Seasonal Cleaning Tips
Each season brings its own cleaning tasks. In spring, I gently scrub off winter grime. Summer calls for removing debris from climbing plants. Fall is perfect for a deep clean before winter storage. I use a soft brush and mild soap to keep my trellis sparkling without damaging the structure.
Upkeep for Climbing Plants
Proper care of my climbing plants is key to a stunning trellis display. I prune regularly to promote healthy growth and prevent overcrowding. Fertilizing during the growing season keeps my plants lush and vibrant. I also make sure to train new growth along the trellis for a neat appearance.
| Season | Maintenance Task | Gardening Supplies Needed |
|---|---|---|
| Spring | Clean off winter debris | Soft brush, mild soap |
| Summer | Prune and train plants | Pruning shears, plant ties |
| Fall | Deep clean and inspect | Cleaning solution, inspection tools |
| Winter | Protect from harsh weather | Protective covers, insulation materials |
Troubleshooting Common Issues with Trellises
I’ve had my share of problems with trellises for vegetable gardening. Here are some tips to help you solve common issues and keep your garden healthy.
Addressing Stability Problems
Stable trellises are key. I add extra supports or bury them deeper to fix this. For wooden ones, I check for rot and replace parts that are damaged.
Managing Plant Overgrowth
When plants grow too big, they can take over your trellis. I prune my plants often, removing dead or tangled vines. This keeps the trellis visible and helps air circulate, reducing disease risks.
Pest Control Solutions
Pests can harm plants and trellises. I use natural pest control like neem oil and barriers to keep pests away. Regular checks help me spot problems early.
| Issue | Solution | Prevention |
|---|---|---|
| Unstable Trellis | Add support stakes | Proper initial installation |
| Plant Overgrowth | Regular pruning | Choose appropriate plant varieties |
| Pest Infestation | Natural pest control methods | Companion planting |
By tackling these common problems, I’ve kept my trellises looking great and working well for years. With these tips, you’ll be ready to handle any challenges in your trellis and vegetable gardening projects.
Expanding My Garden with Additional Trellises
After making my first trellis, I got hooked on gardening. Trellises bring vertical interest and make my garden grow more. Here’s how I’m growing my trellis collection.
Planning for More Trellis Structures
I mapped out my yard to find the best spots for new trellises. I thought about sunlight, soil, and how they’d look together. My aim was to create a design that flows well through the garden.
Experimenting with Different Designs
My first trellis was simple, but now I’m trying new shapes. I built an arched trellis and a pyramid for climbing beans. These designs add interest and support different plants.
Seasonal Plant Rotations
To use my trellises all year, I change what I grow seasonally. In spring, I have peas and clematis. Summer brings tomatoes and pole beans. Fall and winter, hardy kiwi and winter squash take over. This keeps my garden lively and productive.
| Season | Trellis Plants |
|---|---|
| Spring | Peas, Clematis |
| Summer | Tomatoes, Pole Beans |
| Fall | Hardy Kiwi, Winter Squash |
Adding more trellises has turned my garden into a dynamic space. Each new trellis opens up new possibilities for gardening and beautiful displays.
Conclusion: Enjoying My Trellis for Years to Come
Building a garden trellis has been an amazing journey for me. I’ve learned a lot about DIY projects and gardening. My new trellis adds beauty and function to my outdoor space. I’m excited to see it covered in lush, climbing plants.
Reflecting on My Gardening Journey
Looking back, I’m proud of what I’ve accomplished with my trellis DIY project. It’s given me confidence to tackle more garden structures in the future. The skills I’ve gained will serve me well in other outdoor projects too.
Inviting Friends to Share My Space
I’m excited to show off my new garden trellis to friends and family. It’s become a focal point in my yard, perfect for gatherings and relaxation. I love seeing their reactions and sharing gardening tips.
Staying Inspired for Future Projects
This trellis project has sparked my creativity. I’m already dreaming up new designs and thinking about other spots in my garden that could use a trellis. Whether it’s trying new climbing plants or building different structures, I’m eager to keep growing as a gardener.

