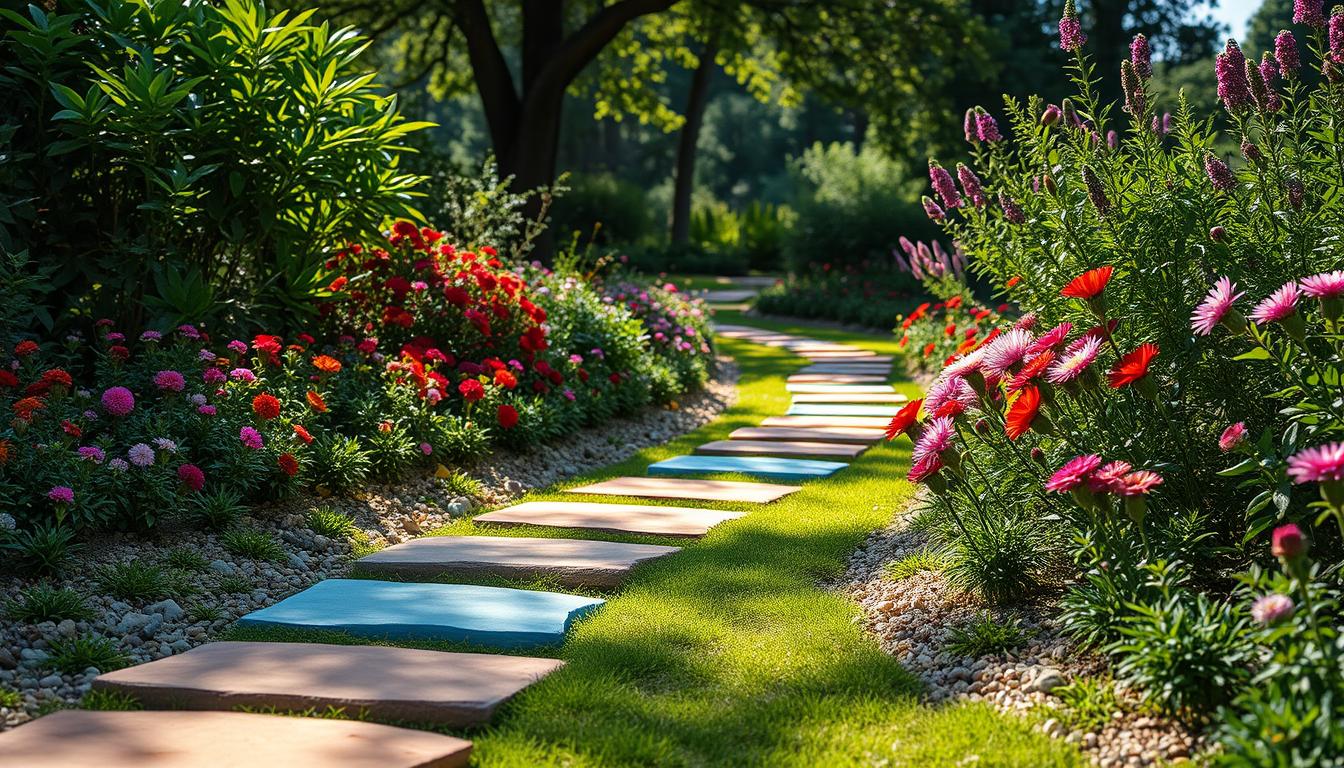
I’ve always been drawn to making my own garden pathways. There’s something special about designing a walkway that matches my outdoor space. DIY garden pathways add charm and function to any yard.
There are many choices for garden path materials, from gravel to pavers. I’m excited to share my journey of making beautiful walkways that show off my style. Whether you’re a seasoned gardener or new to it, DIY garden pathways can make your outdoor area cozy.
In this guide, I’ll show you how to make your own garden paths. We’ll look at different materials, design ideas, and tips to help you bring your vision to life. Let’s dive into the world of DIY garden pathways and see how simple it is to make your perfect walkway.
Why I Love DIY Garden Pathways
Creating my own garden pathways has been incredibly rewarding. I’ve found many benefits that make DIY walkways perfect for garden lovers. Here’s why I’m so passionate about this hands-on approach to landscaping.
The Benefits of Creating My Own Walkway
DIY garden pathways mix creativity with practicality. I’ve saved money and customized my walkways. Using recycled materials like repurposed bricks or old wooden planks adds charm and is eco-friendly.
One big plus is the low-maintenance aspect. I’ve chosen materials and layouts that need little upkeep. This lets me enjoy my garden more without worrying about maintenance.
Personalizing My Garden Aesthetic
DIY pathways let me show off my personal style outdoors. I pick colors, textures, and patterns that match my home and garden. Each project shows my unique vision for the garden.
I enjoy how these paths connect different parts of my yard. They lead visitors through, showing off my favorite plants and features. Seeing my ideas come to life and getting compliments from others is very rewarding.
Choosing the Right Materials
Choosing the right materials for my garden pathway is key. I’ve looked at many options to make a walkway that’s both beautiful and useful.
Popular Materials for Pathways
Paving stones and gravel paths are top picks for garden walkways. Paving stones give a sleek look and are durable. They’re also easy to keep up. Gravel paths offer a natural, rustic vibe. They’re cheaper and let water drain better.
Cost Comparison of Different Options
Costs vary a lot between materials. Here’s a look at the average costs per square foot for common pathway options:
| Material | Cost per Square Foot | Durability | Maintenance |
|---|---|---|---|
| Gravel Paths | $1 – $4 | Medium | Regular raking |
| Paving Stones | $10 – $30 | High | Occasional cleaning |
| Concrete | $6 – $12 | High | Sealing every few years |
| Brick | $5 – $20 | High | Minimal |
Gravel paths are the cheapest, but paving stones last longer and look nicer. My choice depends on my budget, what I want it to look like, and how much upkeep I’m okay with.
Planning My Pathway Design
I love getting creative with my garden, and planning a new pathway is exciting. It’s time to bring my ideas to life! I start by sketching out different stepping stone designs and garden path borders. This helps me visualize how everything will look before I start digging.
Sketching My Ideas
I grab a pencil and paper to draw my dream pathway. I play around with curves, straight lines, and even zigzag patterns. Stepping stone designs are fun to explore – I try circular, square, and even leaf-shaped stones in my sketches. For garden path borders, I consider using bricks, rocks, or plants to frame the walkway.
Measuring the Area for Accuracy
Once I have a design I like, it’s time to measure. I use a tape measure to get the exact length and width of my planned pathway. This step is crucial – it helps me figure out how many materials I’ll need and ensures my design fits the space perfectly.
| Measurement | Length | Width |
|---|---|---|
| Main Path | 20 feet | 3 feet |
| Side Branch | 8 feet | 2 feet |
| Circular Area | 6 feet (diameter) | 6 feet (diameter) |
With my sketch and measurements ready, I feel prepared to start my garden pathway project. Careful planning now will make the actual building process much smoother later on.
Preparing the Ground
Starting to make DIY garden pathways means getting the ground ready first. This step is key for paths that need little care. I’ll share how to lay a solid base for your garden path.
Clearing the Space Effectively
I begin by removing plants, rocks, and trash from the path area. I use a shovel and rake to clear a 6-inch wider strip than my path. This extra space helps with edging later.
For tough weeds, I apply weed killer or lay down landscape fabric. This stops weeds from coming back.
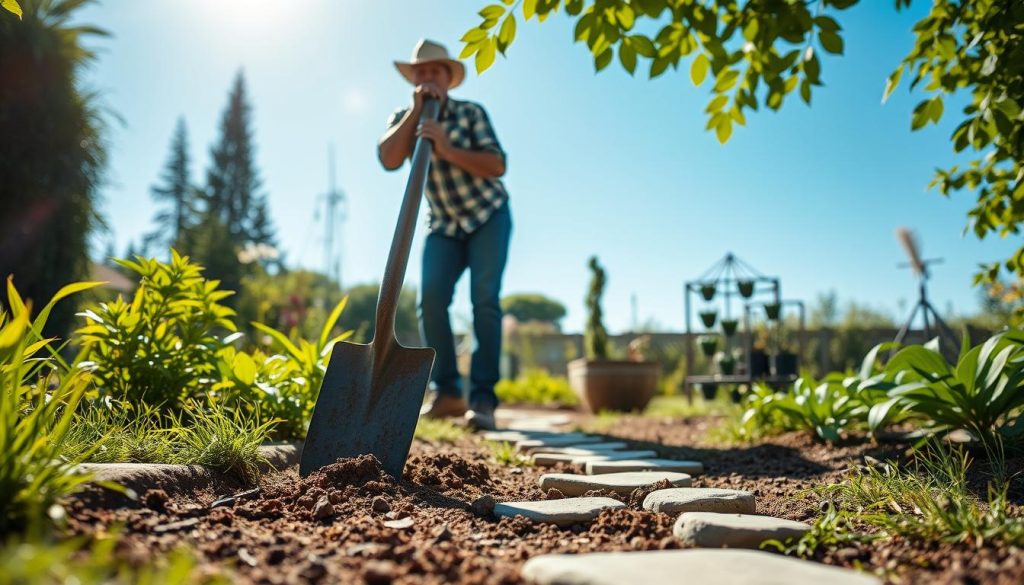
Leveling the Ground for Stability
Then, I work on making the ground even. I use a long board and level to find uneven spots. For small dips, I add soil and press it down.
For deeper holes, I fill them with gravel before adding soil. This stops the ground from settling too much. I also make sure the ground slopes away from my house for good drainage.
By spending time on ground preparation, my DIY garden pathways will be solid and need less care. It’s the start of making lovely, easy-to-maintain paths that will beautify my garden for years.
Building a Gravel Pathway
Gravel paths are a favorite for many gardeners. They bring a natural, rustic feel to our outdoor areas. Let’s dive into how to make these lovely walkways.
Choosing the Right Gravel Types
When picking gravel, I think about size, color, and how long it lasts. Pea gravel is my top choice for its smooth feel and many colors. For a solid path, I choose crushed stone or decomposed granite. Here’s a look at some common gravel types:
| Gravel Type | Size | Pros | Cons |
|---|---|---|---|
| Pea Gravel | 1/4 to 1/8 inch | Smooth, varied colors | Can shift underfoot |
| Crushed Stone | 3/4 to 1 inch | Stable, compacts well | Less color variety |
| Decomposed Granite | 1/4 inch or less | Natural look, firm surface | Needs regular maintenance |
Steps to Create My Gravel Path
Building a gravel path is a fun DIY task. Here’s how I do it:
- Mark the path’s outline with string or spray paint
- Dig the area to a depth of 4-6 inches
- Line the path with landscape fabric to prevent weed growth
- Add a 2-inch layer of crushed stone as a base
- Pour gravel over the base, about 2-3 inches deep
- Rake the gravel to level it out
- Compact the gravel with a plate compactor or hand tamper
This method makes durable gravel paths that beautify my garden. With the right care, these paths can last for many years. They add charm and function to my outdoor space.
Installing Paver Stone Pathways
I love making unique garden paths with paving stones. It adds character to my outdoor space. Here’s my experience with these beautiful walkways.
Selecting Paver Sizes and Shapes
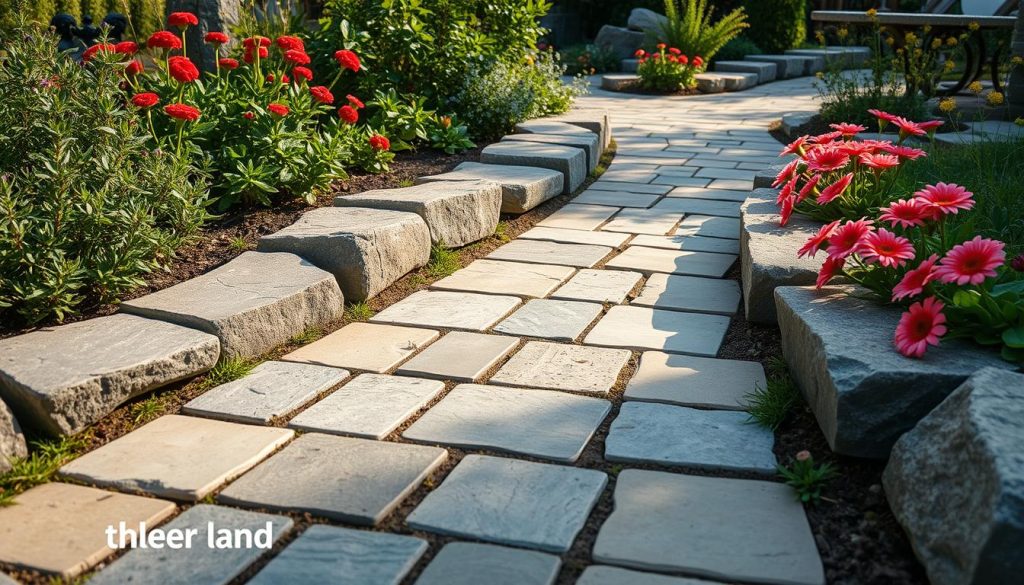
Choosing the right paving stones is key for stunning paths. Mixing different sizes adds interest. Large square pavers make a bold statement, while smaller rectangular ones are versatile.
For a natural look, I use irregularly shaped stones. They add a unique touch.
| Paver Type | Size (inches) | Best Used For |
|---|---|---|
| Standard | 4 x 8 | Traditional patterns |
| Large Square | 12 x 12 | Modern designs |
| Cobblestone | 6 x 6 | Rustic paths |
Laying Out My Paver Stones
When laying out pavers, I start with a string outline. It helps me see the final path. I lay the stones in my chosen pattern, leaving 1/4 inch between each for sand.
It’s crucial to check the level often for a smooth surface. For unique designs, I add curves or zigzags. These patterns add charm to my garden. Remember, the key is to have fun and let your creativity shine!
Connecting Pathways with Edging
I love adding the finishing touch to my DIY garden pathways with edging. It’s like framing a picture – it makes everything look neat and polished. Let’s explore some great options for garden path borders that can elevate your outdoor space.
Types of Edging Materials
When it comes to edging materials, I’ve tried quite a few. Here’s a quick rundown of my favorites:
- Stone: Durable and natural-looking
- Brick: Classic and versatile
- Metal: Sleek and modern
- Plastic: Affordable and easy to install
- Wood: Rustic charm for garden path borders
Installing Edging for a Polished Look
Installing edging isn’t too tricky. Here’s how I do it:
- Mark the edge of your pathway
- Dig a shallow trench along the marked line
- Place your chosen edging material in the trench
- Secure it with stakes or adhesive
- Fill in gaps with soil or gravel
Remember, proper installation is key to creating stunning DIY garden pathways that last. Take your time and make sure everything is level and secure.
| Edging Material | Durability | Cost | Ease of Installation |
|---|---|---|---|
| Stone | High | High | Medium |
| Brick | High | Medium | Medium |
| Metal | Medium | Medium | Easy |
| Plastic | Low | Low | Very Easy |
| Wood | Medium | Low | Easy |
Using Plant Borders
I love adding plant borders to my garden pathways. They bring life and color to the walkways, making them more inviting. Garden path borders are a great way to define spaces and create a cohesive look throughout my outdoor area.
Choosing the Right Plants for Borders
When selecting plants for my pathway borders, I focus on drought-tolerant options. These hardy plants require less maintenance and water, which is perfect for my busy lifestyle. Some of my favorite choices include:
- Lavender
- Sedum
- Ornamental grasses
- Creeping thyme
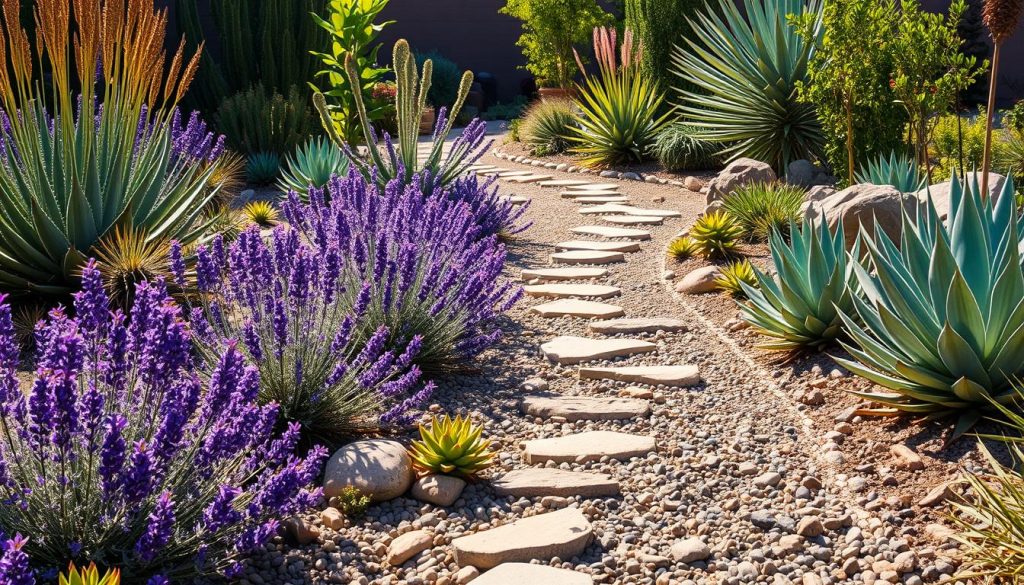
I mix and match these plants to create interesting textures and colors along my garden paths. The lavender adds a lovely scent, while the ornamental grasses provide movement in the breeze.
Tips for Plant Care Around Pathways
Caring for my garden path borders is easier than I expected. Here are some tips I’ve learned:
- Water deeply but less frequently to encourage deep root growth
- Mulch around plants to retain moisture and suppress weeds
- Trim plants regularly to keep them from overgrowing the path
- Choose plants with similar care requirements for each section
By following these simple steps, I keep my drought-tolerant path plantings looking their best all season long. The result is beautiful, low-maintenance garden path borders that enhance the overall look of my outdoor space.
Adding Lighting to My Pathway
I’m thrilled to share how I’ve brightened up my DIY garden pathways with pathway lighting. A few lights can make a big difference. They create a magical feel and make it safer at night.
Types of Outdoor Lighting Options
I’ve looked into many lighting options for my garden paths. Solar-powered lights are my top pick because they’re eco-friendly and easy to set up. I also like low-voltage LED lights for their energy-saving and long-lasting qualities. Here’s a look at the lighting types I’ve tried:
| Lighting Type | Pros | Cons |
|---|---|---|
| Solar-powered | No wiring, eco-friendly | Dependent on sunlight |
| Low-voltage LED | Energy-efficient, bright | Requires wiring |
| Battery-operated | Portable, easy to install | Needs battery replacement |
How to Install Pathway Lights Safely
When installing pathway lighting, safety is crucial. I plan the layout first, making sure lights are evenly spaced. For solar lights, I just push them into the ground. With wired lights, I bury the cables and use waterproof connectors.
My best tip for DIY garden pathways: always test your lighting before you finish installing. This ensures the perfect ambiance and catches any dark spots.
Maintenance Tips for My Garden Pathways
Keeping my garden pathways in top shape is key. Regular care makes them look great all year. Here are some seasonal tasks and tips I’ve learned.
Seasonal Maintenance Tasks
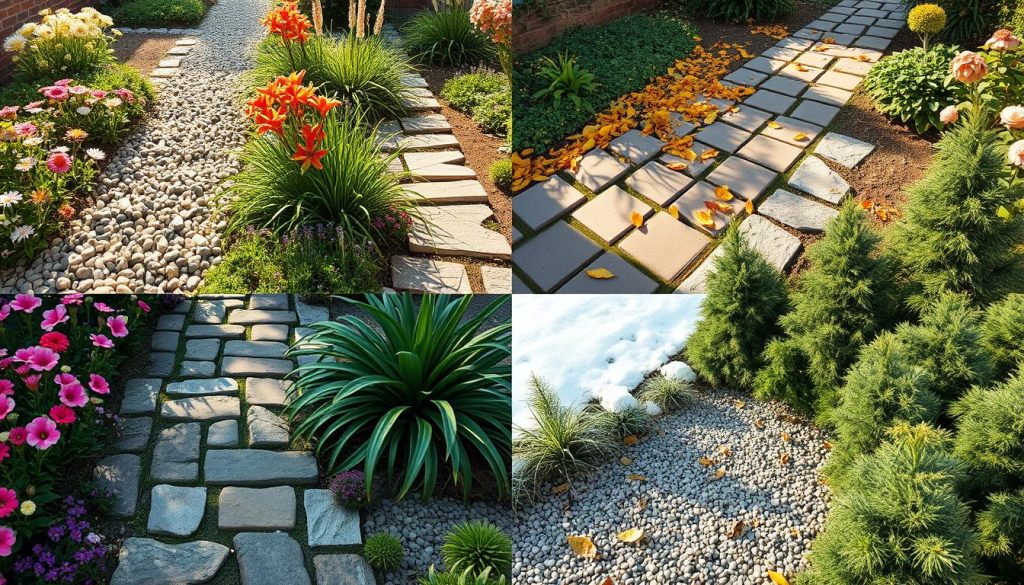
Every season has its own challenges for my pathways. In spring, I clear debris and fix winter damage. Summer is for weed control and cleaning. Fall means leaf removal, and winter requires ice management to avoid slipping.
- Spring: Clear debris, repair winter damage
- Summer: Control weeds, clean surfaces
- Fall: Remove leaves, prepare for winter
- Winter: Manage ice, clear snow
Troubleshooting Common Issues
I’ve faced a few issues with my pathways. Weeds between pavers are common. I solve this by pulling weeds and using a natural killer.
For gravel paths, raking keeps the surface even and prevents ruts. Cracked or loose pavers are a hazard. I fix this by adding sand and resetting the paver.
Wooden pathways need a sealant every few years to protect against moisture. With these tips, my pathways stay beautiful and functional.
Enhancing My Pathway with Decor
I love adding personal touches to my garden pathway. It’s a fun way to express my creativity and make my outdoor space unique. Let’s explore some exciting ideas for pathway decor and how to incorporate art into your garden design.
Ideas for Pathway Decor
Recycled pathway ideas can add charm and character to my garden. Old wine bottles, colorful glass pieces, or even broken china can be used to create stunning mosaics along the path edges. I also love using reclaimed wood to make rustic signs or markers.
Stepping stone designs are another great way to personalize my pathway. I’ve made my own custom stones using concrete molds and decorating them with pebbles, shells, or even my children’s handprints. It’s a fun family project that adds a special touch to our garden.
Incorporating Art and Personal Touches
Adding art to my garden pathway brings it to life. I’ve placed small sculptures, wind chimes, and even a repurposed birdbath along the edges. These pieces catch the eye and create interesting focal points as you walk through the garden.
Here’s a table of some personal touches I’ve added to my pathway:
| Decor Item | Material | Location |
|---|---|---|
| Mosaic Border | Broken Tiles | Path Edge |
| Custom Stepping Stones | Concrete with Shell Imprints | Throughout Path |
| Metal Butterfly Sculpture | Recycled Metal | Near Flower Bed |
| Painted Rock Garden Markers | River Rocks | At Plant Sections |
By adding these personal elements, I’ve transformed my garden pathway into a delightful journey filled with memories and creativity. It’s become a true reflection of my personality and style.
Final Thoughts on My DIY Garden Pathways
As I finish my DIY garden pathway project, I feel proud and accomplished. These walkways have turned my outdoor area into a personal paradise. I learned new skills and showed my creativity in ways I never thought possible.
Reflecting on My Garden Journey
Looking back, I’ve learned a lot about garden path materials and design. Each project, from gravel to pavers, had its own challenges and rewards. Seeing my ideas come to life has been incredibly fulfilling.
My garden now has pathways that add to its beauty and make it more fun to use.
Encouraging Others to Start Their Projects
If you’re thinking about DIY garden pathways, go for it! With planning, patience, and creativity, you can get amazing results. Don’t be scared to try different materials and designs.
Your garden shows who you are, so let your personality shine in your pathways. The journey might have ups and downs, but the end is worth it.
I hope my story encourages you to start your own garden pathway project. Whether you pick gravel, pavers, or something else, it will connect you to nature and your outdoor space. Happy pathmaking!

